
Scope of the manufacturing example
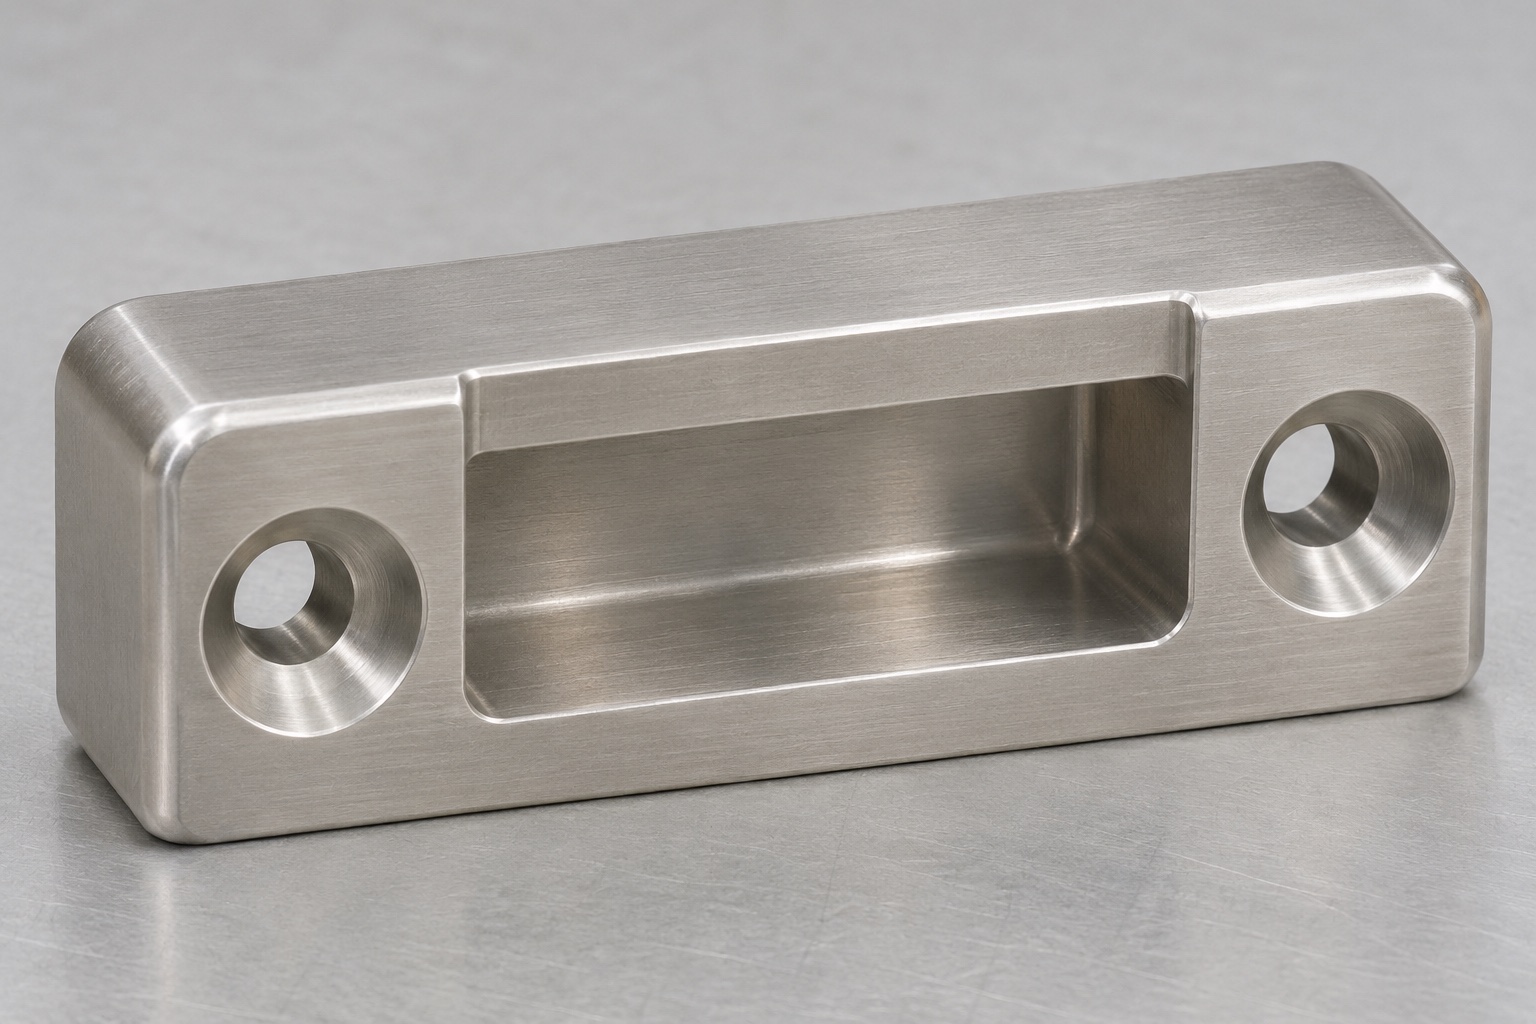
This representative case describes a 316L receiver block for the latch of a medical instrument transport basket development assembly. A shallow front recess accepts a dummy latch tongue, and two countersunk through holes attach the block to a separate bracket. The rear face establishes the mounting seat. The proposal covers CNC milling, dimensional inspection and an optional unloaded bench check. It does not document a customer shipment, certified retention component or measured basket performance. Final requirements would come from a controlled drawing and the mating interfaces. No load capacity, reprocessing method or suitability for carrying clinical instruments is asserted.

Collect the controlled mating geometry
Request the latch tongue envelope, closing and release path, bracket seat and specified screws. Show the functional lip and floor in a section and define their relationship to the mounting references. State where the tongue first contacts and which component provides the final travel stop. If the bracket allows adjustment, record the permitted range and how the receiver is fixed after adjustment. Separate these assembly conditions from dimensional limits on the block itself. A supplier should not need to infer engagement from a photograph or compensate for an unknown latch revision by cutting a larger recess.
Prepare a traceable blank
Select the specified 316L stock form and condition and identify the material lot on the traveler. Cut enough allowance for a clean mounting face and a secure grip without forcing a long cutter into the pocket. Check the blank for damage and ensure the support points are on material that will remain rigid during roughing. Record the chosen orientation for pilot pieces. Keep unfinished blocks separate from accepted parts so no operation is skipped. If a later treatment is required, plan lot identification that survives it without marking the functional face. The route assumes no finish beyond what the released purchase specification requires.
Establish the rear face and transfer references
Machine the mounting face and create the side or end references used for the next operation. Inspect the seat after release rather than relying on its appearance while clamped. When transferring to the front-pocket setup, support the block against clean pads and verify it is not sitting on chips. Keep clamp loads away from the lip and allow tool clearance on both sides. If the workholding references an outside face that does not locate the assembly, demonstrate its relationship to the real datum. Save the locating and support arrangement with the pilot setup sheet.
Rough and finish the engagement recess
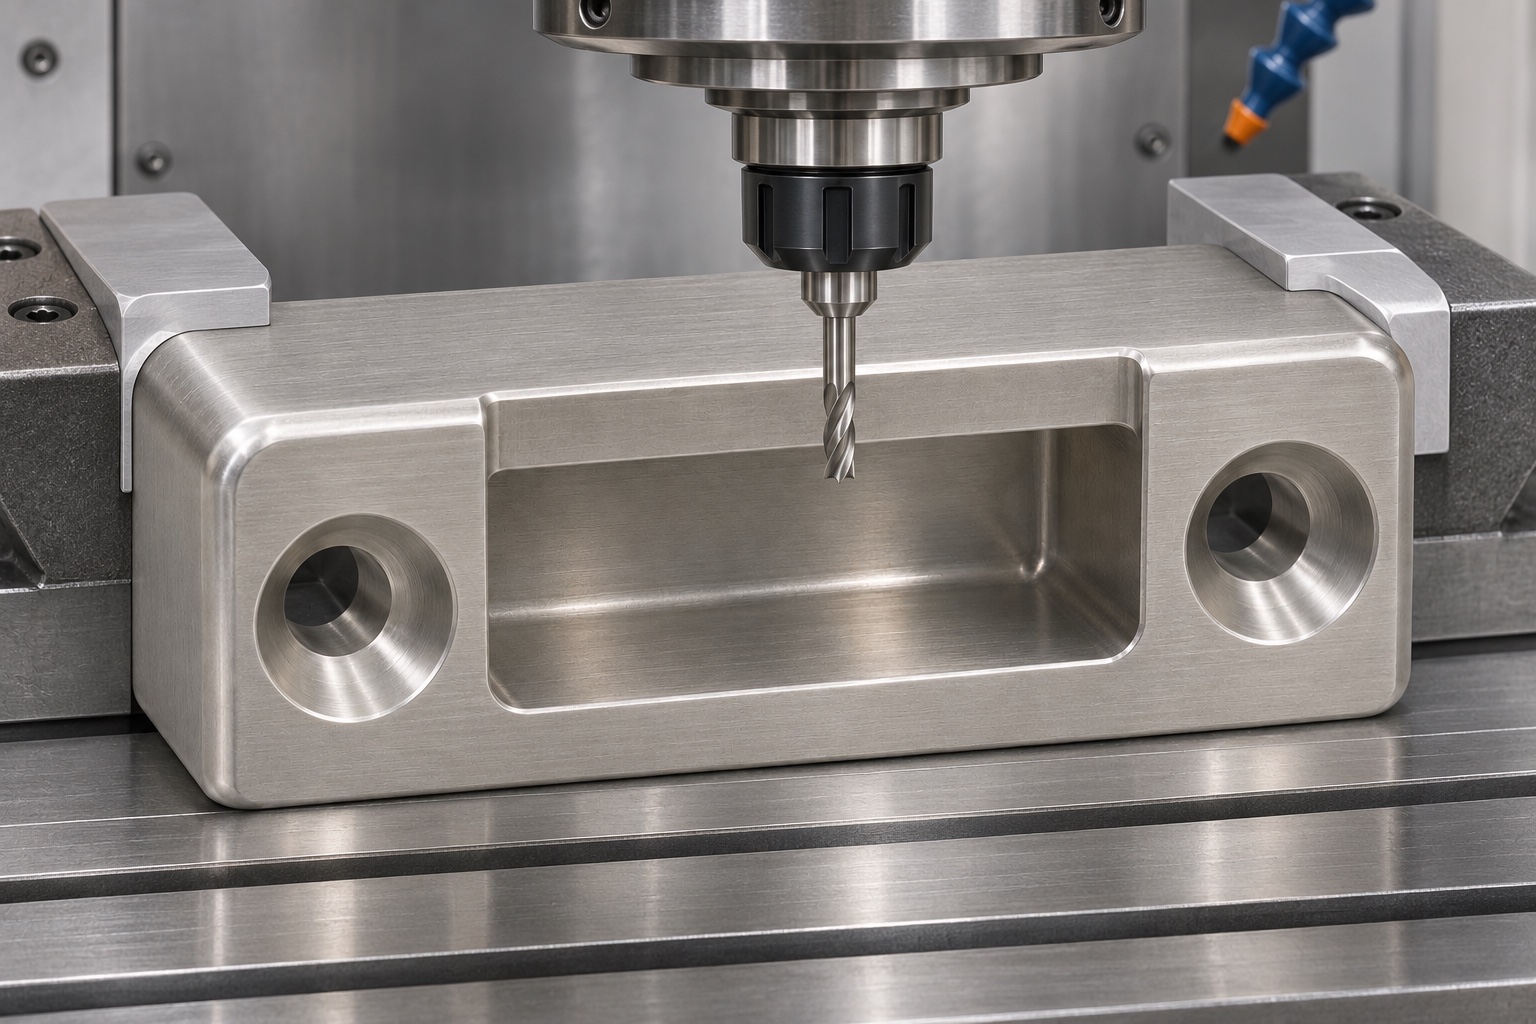
Remove the bulk material with a cutter suitable for 316L and leave a defined finishing allowance. Finish the contact surface and clearance walls with stable engagement and good chip evacuation. Keep corner radii compatible with the dummy tongue. A small tool may reach the geometry but still deflect or rub if its overhang is excessive. Check the pilot pocket for taper, floor ridges and remaining material near the upper lip. Do not hand blend a functional surface just to improve the apparent opening. If the drawing requires a geometry the proposed tool cannot reach, seek an approved change or alternate process.
Produce the mounting holes and screw seats
Locate both holes from the drawing references, drill through and machine the countersinks with the specified included angle. Check the remaining section between these features and the recess. Inspect the back exits for burrs that could lift the block from its bracket. Use a controlled screw example or an appropriate gauge for the seat where agreed, and document the fastener revision. A screw head that appears low is not proof of full bearing. Protect the rear face when repositioning for edge work and keep the screws outside the part compartment until the final assembly check.
Finish edges and surface condition
Remove loose material from the pocket entrance and preserve the designed contact band. Inspect the recess with suitable magnification and angled light so a folded burr is not mistaken for a smooth edge. Clean trapped chips from the corners and screw exits. Keep stainless handling separate from ferrous swarf. If passivation or another treatment is specified, record the process and define which features are accepted afterward. Do not imply corrosion resistance, cleanliness or chemical compatibility from the material name alone. Hold pieces with damaged lip edges for review rather than polishing away evidence of the damage.
Record the first-article geometry
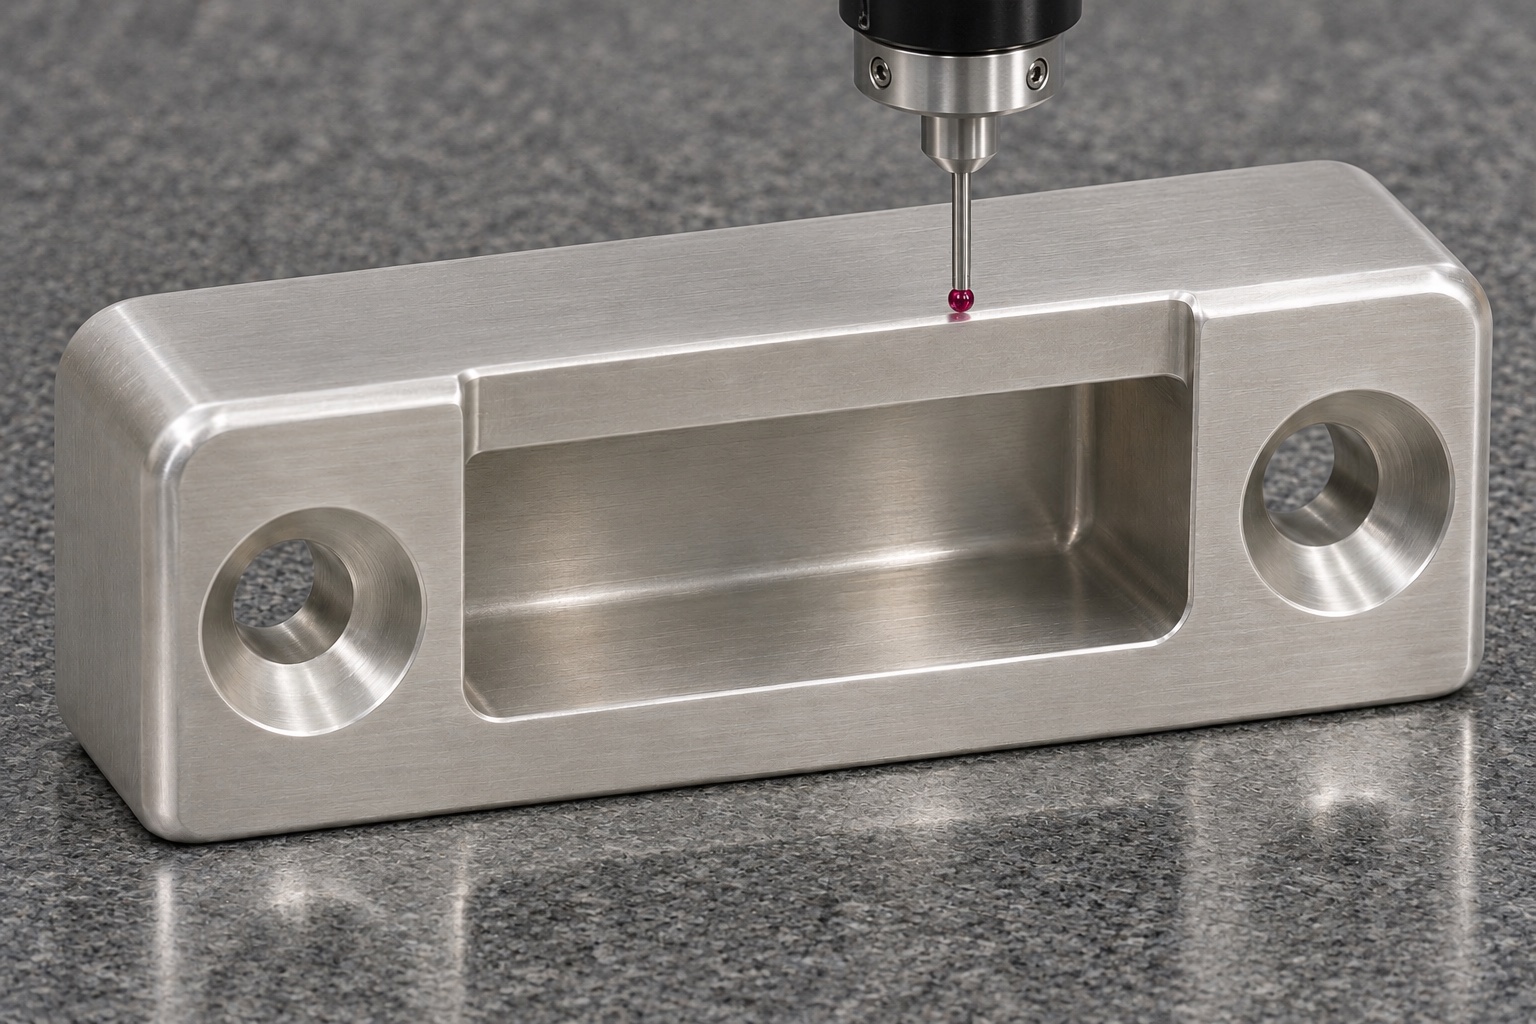
Set the block against its mounting datum with low-distortion restraint. Measure the lip position, pocket floor depth, opening and mounting features at the specified stations. Choose a stylus configuration that reaches the working face without touching an adjacent wall. Keep edge breaks out of plane fits and state how the coordinate system is established. Compare the actual measured results with the controlled drawing, not with programmed values. If a simple coupon is part of the inspection, identify what it checks and what it leaves unmeasured. The representative example supplies no fictitious readings or process capability results.
Check closure on a separate bench fixture
Mount the receiver on a non-operational bracket using the agreed screws and assembly condition. Move a clean dummy tongue through the permitted path without a load. Verify the contact order, intended overlap and available release clearance. If seating changes after the screws are tightened, inspect the rear face, bracket and countersink geometry first. Record the receiver, tongue and bracket revisions and any approved adjustment. This is proposed as a mechanical assembly screen only. It does not establish retention strength, transport safety, resistance to repeated cycles, reprocessing effectiveness or compliance of the completed basket.
Resolve deviations before repeating the lot
If the tongue hits a wall before the engagement edge, measure its path against the released envelope and compare pocket location. If the block is dimensionally compliant but the fixture still binds, review the bracket position rather than widening the recess informally. If a burr is found, correct it under the approved edge requirement and repeat the relevant check. Log the reason for any offset change and assess a fresh pilot piece under the same inspection conditions. A successful hand fit on one sample is not production capability evidence. Define sampling and first-piece rechecks separately for repeat orders.
Make quotation scope explicit
Request separate pricing for the machined blocks, any surface treatment, first-article report and dedicated test fixture where applicable. State whether the buyer supplies the tongue, bracket and fasteners. Identify the required material records, inspection features and permitted identification location. Compare suppliers on a common acceptance condition and do not assume that a low part price includes a functional trial. Establish who can approve a deviation and how the drawing revision is controlled. Retain the fixture setup and measured pilot results for reorders. The purpose is a reproducible machining specification, not a claim of achieved commercial performance.
Pack to preserve engagement geometry
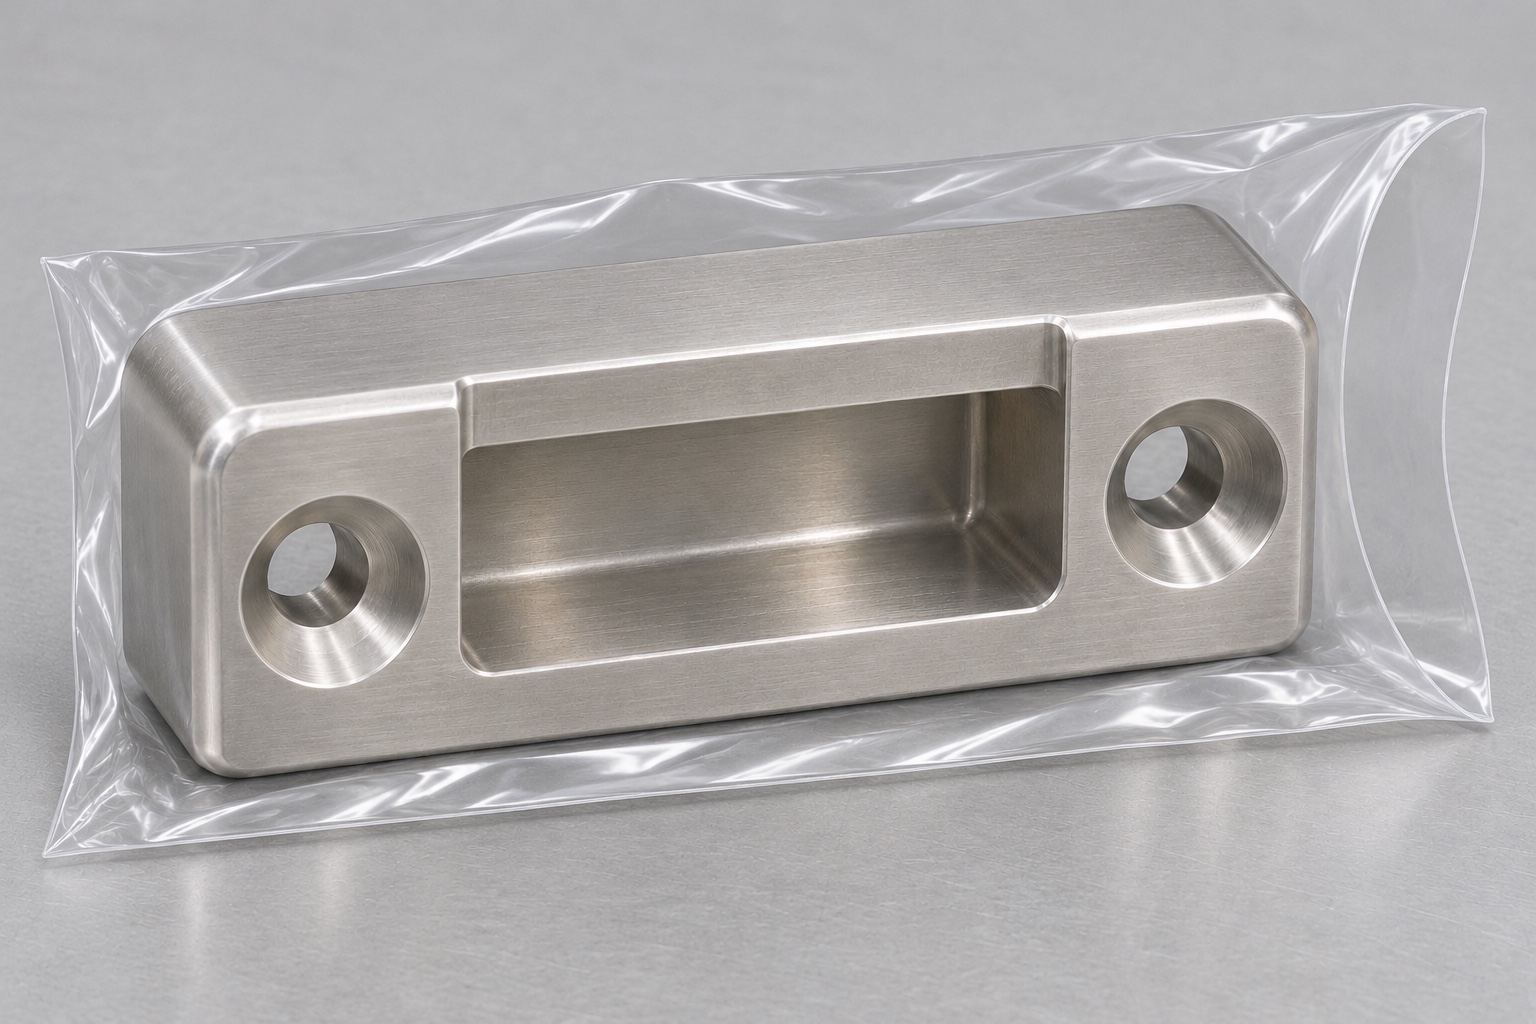
Use a divided tray or fitted recess that supports the body and leaves clearance around the lip and countersinks. Keep screws and test coupons from contacting the machined pocket. Link each lot to the revision and accepted report using the outer package or traveler. Avoid adhesive on the mounting face and protect the recess from grit. The packaging is intended for handling and transit, not sterilization. At receiving, check both the pocket and rear seat before mounting. If impact marks or shifted packing suggest damage, remeasure the affected features before attempting the latch fit.
FAQ
Is this a delivered medical basket project?
No. It is a representative machining plan with proposed inspections. It does not identify a customer, certification or measured field result.
Why inspect the receiver after unclamping?
The free part may reveal distortion or a seating error hidden by the machining fixture. Use the support condition specified by the drawing.
Which screw details should accompany the RFQ?
Provide the head angle, diameter, length and required seated position, plus the controlled fastener specification or revision used for a fit check.
Can extra pocket clearance solve all latch problems?
No. Mounting error, tongue geometry and travel can create interference. Identify the first contact before changing a compliant pocket.
What evidence follows a bench fit?
Record the parts, revisions, mounting condition and observed engagement or release. Do not infer strength or clinical suitability from that limited check.
Should packaging press against the engagement lip?
No. Support the rigid body and leave the functional lip clear of local loads and loose hardware that could alter its edge.

tanghangyun@oemach.com